Mastering the Monk of Thunder: A Comprehensive Guide to Defeating Yellowbrow in Black Myth: Wukong
-
![Fiona Walker]() Fiona Walker
Fiona Walker - Sep 20, 2024

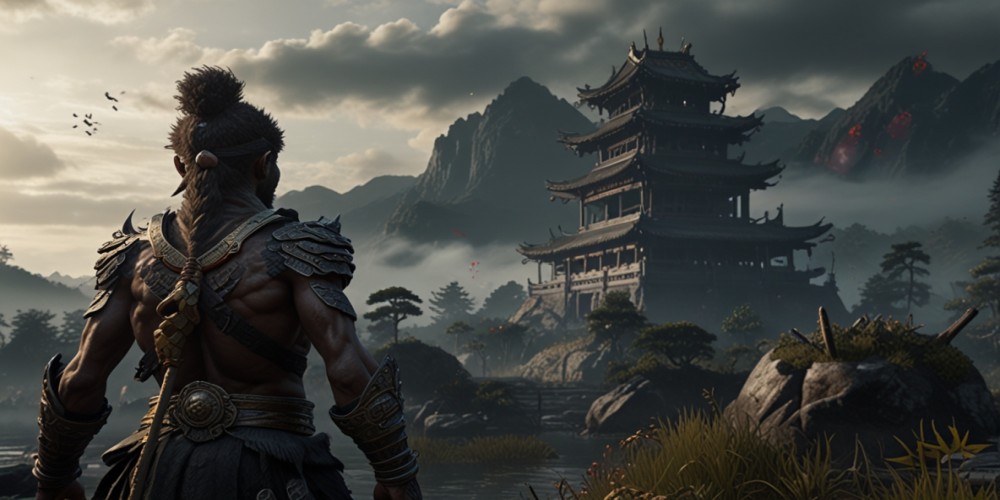
Embarking on a journey through "Black Myth: Wukong" presents players with exhilarating battles against a wide array of foes, culminating in the formidable challenge of confronting Yellowbrow. Known as the monk of thunder, Yellowbrow serves as the ultimate boss of Chapter 3, demanding not only skillful combat but also strategic preparation. His battle takes place in multiple phases, each filled with distinct mechanics and challenges. This manual is creatively crafted to equip you with insights and strategies to conquer Yellowbrow and rise triumphant as you journey through the diverse stages of the game.
Preparing for the Battle
Your confrontation with Yellowbrow will transpire within the expansive grounds of New Thunderclap Temple, situated at the end of Mahavira Hall. Before reaching him, players have the opportunity to engage in additional battles, particularly with the optional boss Non-Pure. Be sure to take on these challenges to bolster your experience points (XP) and Sparks, which are crucial as you approach the chapter's climax.
Before entering the fray, it's wise to come prepared. Yellowbrow excels in employing lightning-based attacks that can induce Shock status, thus stocking up on Shock-Quelling Powder is a must. Enhancing your shock resistance through armor upgrades or by trading Mind Cores with the Xu Dog from Chapter 2 will give you an edge in what lies ahead. Moreover, equipping Cloud Step instead of Rock Solid is recommended, allowing for greater mobility to evade magic attacks.
First Encounter with Yellowbrow
The initial phase of the battle against Yellowbrow stands as the simplest, although it presents its own set of challenges. Even though he towers over you, his movements tend to be quite deliberate. His attacks, which include wide swings of his sceptre and stomps, may land slowly, yet each strike is charged with electrifying energy that can build up to Shock status.
Early optimization of your resources is critical to ensuring an efficient fight; utilize techniques like Immobilize during his attack animations, engage viewable opportunities after a spirit attack with Wandering Wight, and employ Wind Tamer for defensive boosts. Even as you navigate around his attack patterns, always look for openings to execute full combos and heavy attacks. His temporary retreats and subsequent taunts can serve you as an opportunity to press into another offensive strike.
As Yellowbrow's health diminishes to a third, expect him to escalate his tactics, charging the ground and initiating area-of-effect (AOE) lightning strikes. Time your responses carefully, dodging out of the way and closing in with a sequence of attacks when he momentarily becomes vulnerable. Encouragingly, this phase concludes with a cutscene where he traps you in a jar, leading into another boss fight against the Macaque Chief, albeit with assistance from Zhu Bajie. Should the unexpected occur and defeat you, you'll respawn at the shrine without needing to regain your footing against Yellowbrow.
The Second Encounter
Your next encounter with Yellowbrow takes place deeper within the temple, where he is notably more threatening. If defeated here, you will continue to respawn at a designated spawn point rather than a shrine, so preparing your abilities is paramount beforehand. In this phase, Yellowbrow gains the ability to transition into a gold form—rendering himself impervious to conventional attacks, thus complicating your strategies. He will unleash powerful strikes with his sceptre, complemented by shockwaves ricocheting through the arena.
The key to overcoming him during this phase lies in delivering sufficient charged attacks to break through his golden guise. Mix in your heavy attacks as you wait for moments when he reverts to vulnerable form, allowing you to unleash a combination of strikes and maintain pressure. As his health dips below two-thirds, he will unleash a stunning roar followed by an area-wide lightning attack that results in a mandatory cutscene. Although the damage from this event can be significant, make sure to quickly heal up when you regain control.
The Final Phase
As you enter the last phase of the battle against Yellowbrow, you'll notice he still employs various strategies from earlier encounters. His ability to turn gold enhances his threat magnitude, introducing a layer of intricacy as you must first return him to his normal state before dealing real damage. He continues to be a formidable opponent with powerful lightning-based skills that require swift dodging and timing to avoid damage. Make sure to utilize Shock-Quelling Powder at every opportunity, sustaining your health as you go.
In this climactic phase, your strategic reserves should be deployed wisely if you hope to defeat this formidable foe. Spells like Immobilize and Cloud Step are invaluable if you have mana to spare, and keeping your eye out for critical damage opportunities will help in chipping away at his remaining health. The ultimate objective is to stay vigilant, adapt to his shifts in tactics, and exploit moments where he is vulnerable.
Rewarding Victory
Upon successfully overcoming Yellowbrow, you will be rewarded not only with the satisfaction of victory but also with significant in-game rewards. You’ll receive the Hubris Nose, a relic that offers beneficial buffs as you prepare for forthcoming challenges. Completing this encounter marks the halfway point of the Destine One’s journey, and it signals your progress towards Chapter 4.
With newfound insights and skills, it's time to step beyond The New West and embrace the unfolding adventures that lie ahead. The journey is far from over, and the encounters grow increasingly complex and rewarding with every step forward.


Latest Articles
-
![Silvegis: The Multifaceted Legend of Palworld's Enigmatic Depths]()
-
![Ethan Miller]() Ethan Miller
Ethan Miller - Jul 22, 2026
-
-
![Gaming Industry Turmoil: Respected RPG Studio Dissolved Amid Publisher's Financial Struggles]()
-
![Ethan Miller]() Ethan Miller
Ethan Miller - Jul 22, 2026
-
-
![Modern Warfare Next Chapter: Beta Weekends Set to Ignite the Battlefield]()
-
![Ethan Miller]() Ethan Miller
Ethan Miller - Jul 22, 2026
-
-
![Navigating the Multifaceted Battlefield: Mastering Class Synergy in The Legend of Neverland]()
-
![Fiona Walker]() Fiona Walker
Fiona Walker - Jul 08, 2026
-